


Today we will know about a new state management technology called Zustand. This is a very easy and good alternative to Redux ToolKit.
What are we learn in this blog? We will learn how to implement Zustand in a project. We will build a simple to-do list application using Zustand.
Let's start Zustand with an example
About Project: We will create a simple to-do list that has only two operations. Add tasks and delete tasks.
Zustand has a store like redux toolkit. store contains state and actions. I know actions is a term in the redux toolkit, here I mean actions as functionality.
Create a store file in the src folder (This is not the convention. This is just a guide for beginners).
//store.js
import create from 'zustand';
import { devtools } from 'zustand/middleware'

const useStore = create(devtools(set => ({
    tasks: [],
    addTask: (task) => set(state => ({ tasks: [...state.tasks, task] })),
    removeTask: (id) => set(state => ({ tasks: state.tasks.filter(task => task.id !== id) })),

})))

export default useStore;
devtools works as redux toolkit's devtools. We can get the data of the state through this devtools.
Create a store hook useStore like a custom hook in react.js. You can write any name instead of useStore, but use use before the name. example: useTaskStore.
we can store all tasks as an array in the task:[]. This is the state's initial value. We can access the state value like state.tasks.
Now, addTask push the new task in the state.
removeTask receives an id of task (Don't think too much about id. We push task with id and title in another file) and filters the rest of the data according to this id.
store file is complete. No more boilerplate code.
Now, we will create an input field and an add button.
//input.js
import React, { useState } from 'react';
import useStore from '../store';


const InputBox = () => {
    const [input, setInput] = useState('');

    const addTask = useStore(state => state.addTask);

    const taskSubmitHandler = () => {
        addTask({
            id: Date.now(),
            task: input,
        })
        setInput('');
    }

    return (
        <div>
            <input type="text" value={input} onChange={(e) => { setInput(e.target.value) }} />
            <button onClick={() => taskSubmitHandler()}>Add</button>

        </div>
    );
};

export default InputBox;
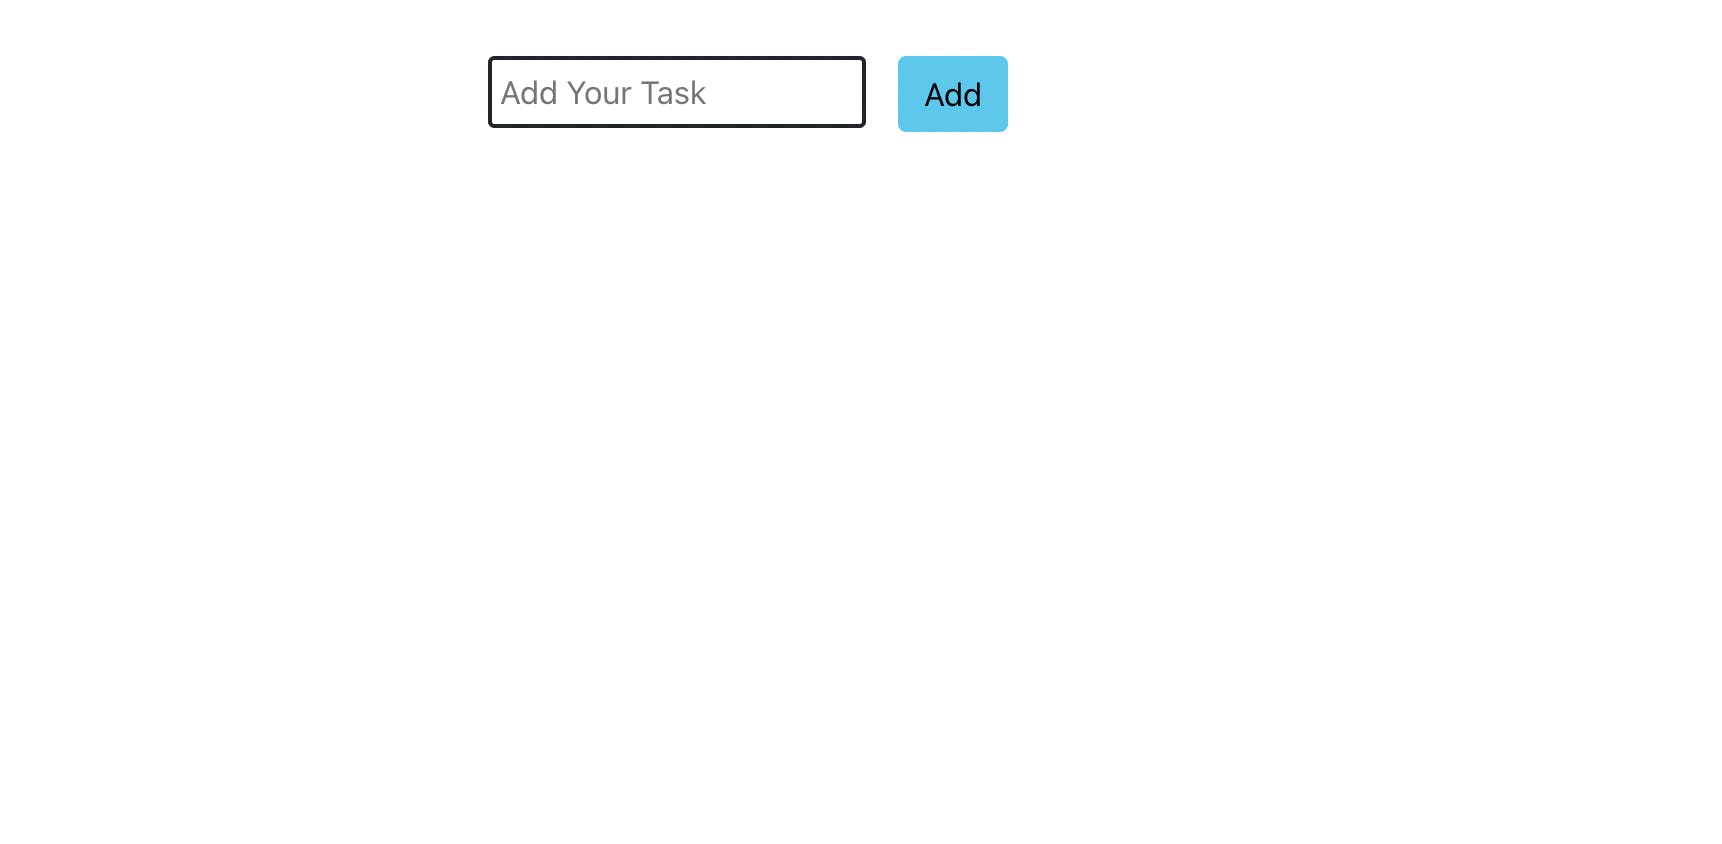 (You can style as your own choice)
We declare a useSate hook to save the task.
We can access the addTask action using const addTask = useStore(state => state.addTask); Here useStore is the function that is in the store file. Access the addTask using state.addTask.
taskSubmitHandler is the functionality of the button. Now, addTask connect to the addTask actions with data that is in the state.
addTask({
            id: Date.now(),
            task: input,
        })
This couple of codes gives the data (id & task) to this line addTask: (task) => set(state => ({ tasks: [...state.tasks, task] })). This addTask push the data in tasks array in the state.
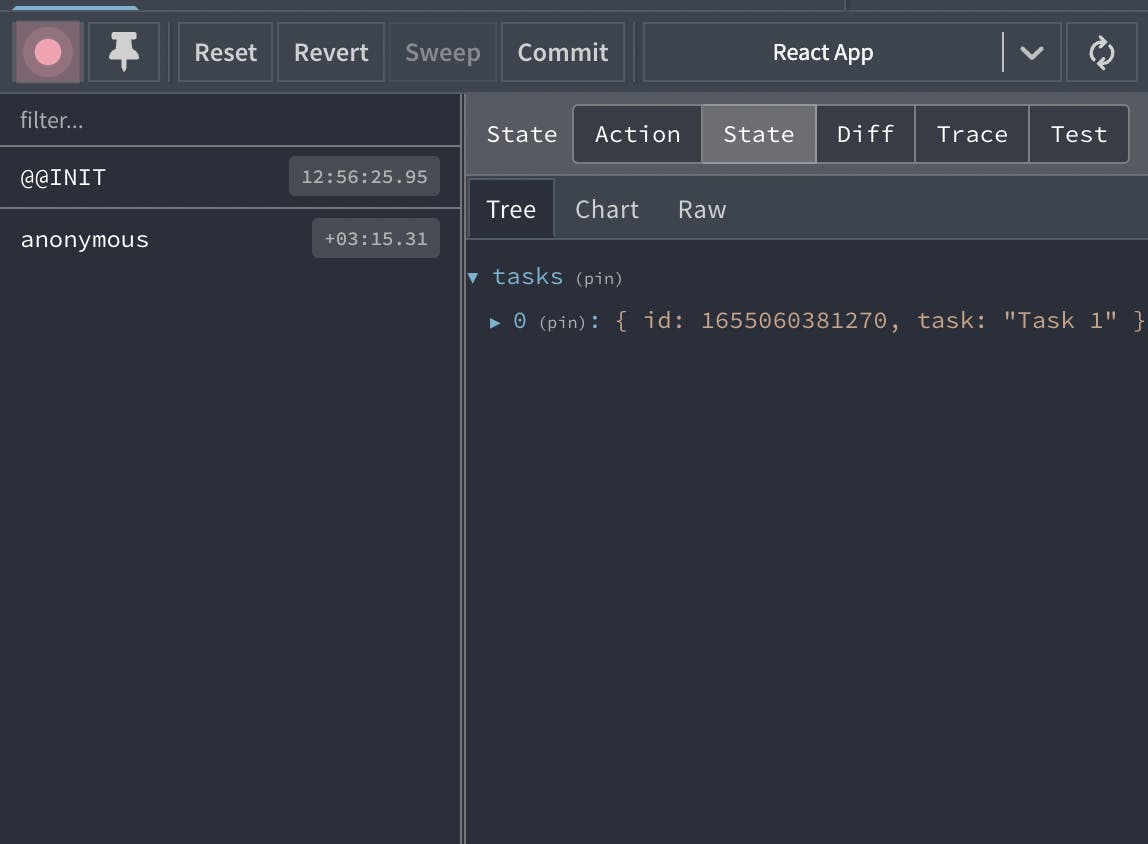
Here id has to be unique. So, we use here Date.now(). task in the user input which we store using useState.
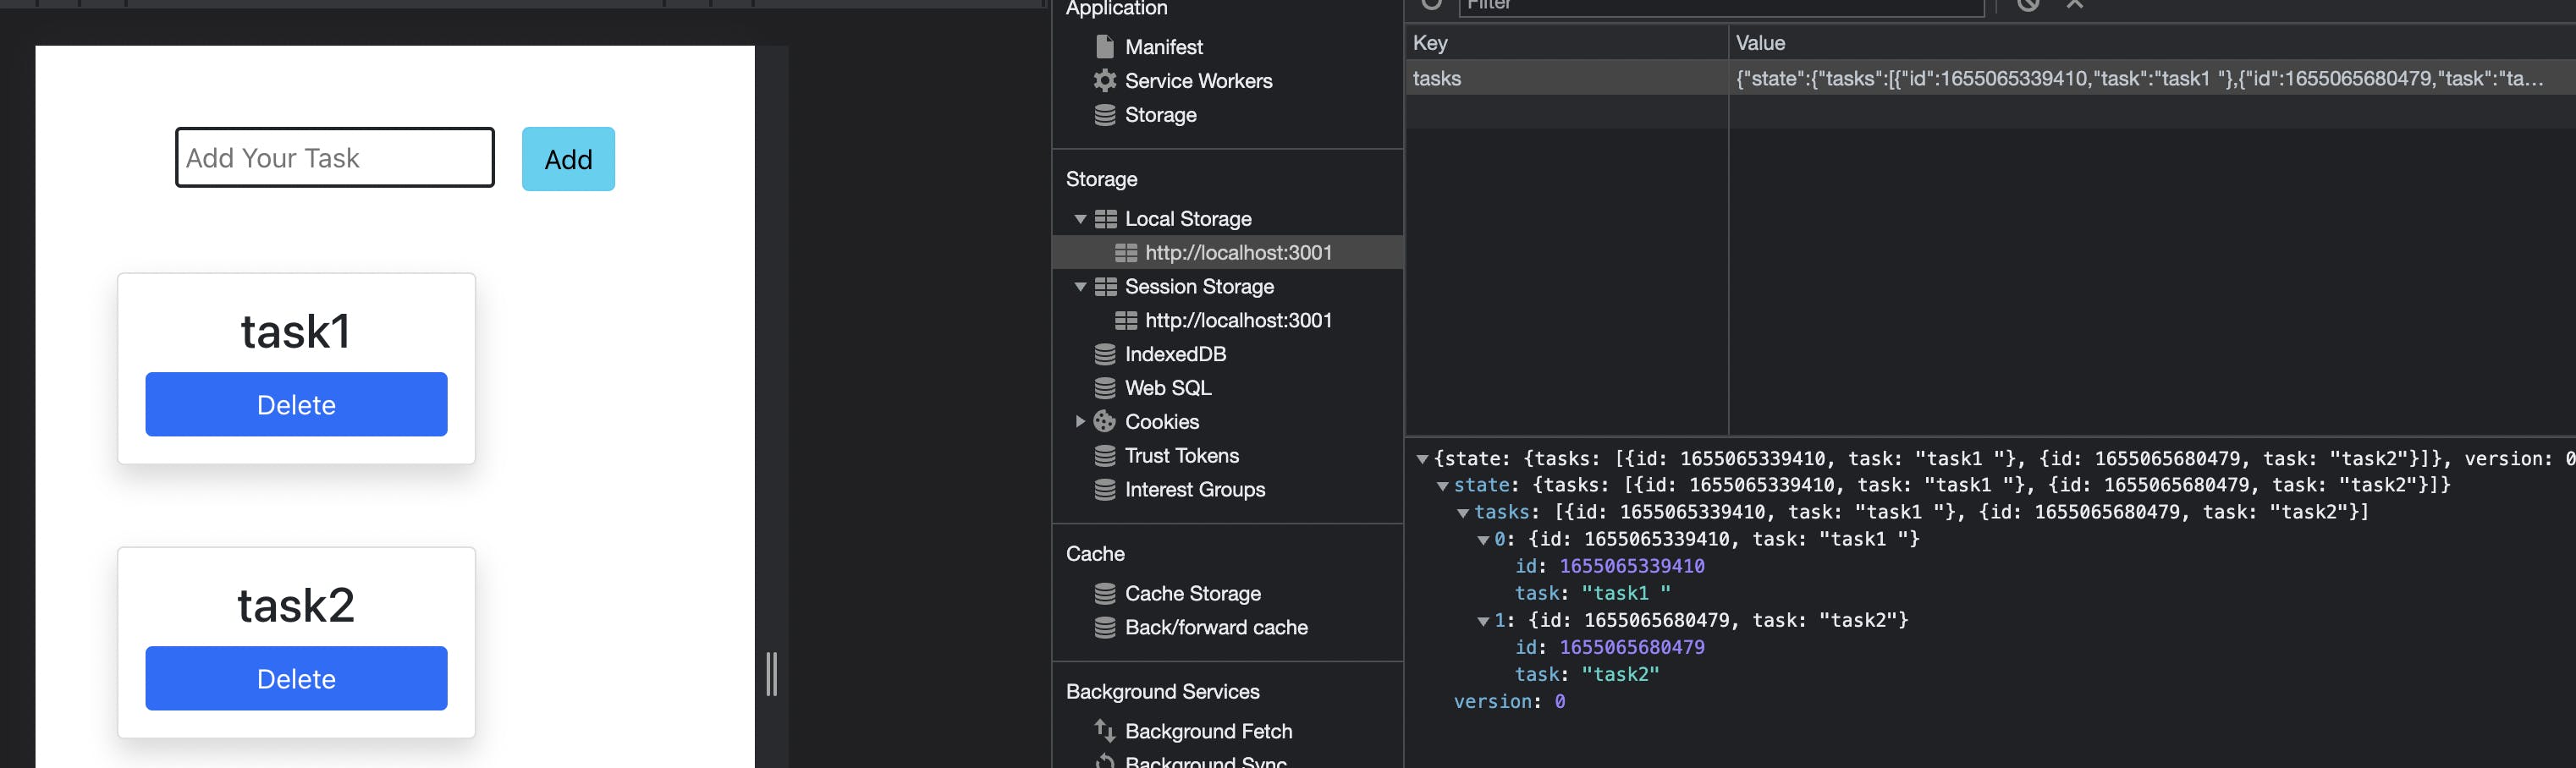
Now, just type task 1 or anything in the input field and click the add button. You can get the state value in your dev tools. (Install Redux DevTools extension if you don't have this. You can get your state value and more information in this extension).
Our next goal is to fetch the data from the state and discover the delete functionality from this state.
Create a new component TaskList.js.
//TaskList.js
import React from 'react';
import useStore from '../store';

const TaskList = () => {
    const { tasks, removeTask } = useStore(state => ({
        tasks: state.tasks,
        removeTask: state.removeTask
    }))
    return (
        <div>
            {
                tasks.map(task => (
                    <div key={task.id}>
                        <h1>{task.task}</h1>
                        <button onClick={() => removeTask(task.id)}>Delete</button>
                    </div>

                ))
            }
        </div>
    );
};

export default TaskList;
 const { tasks, removeTask } = useStore(state => ({
        tasks: state.tasks,
        removeTask: state.removeTask
    }))
Here, we access tasks array & removeTask from the state that is in the store file.
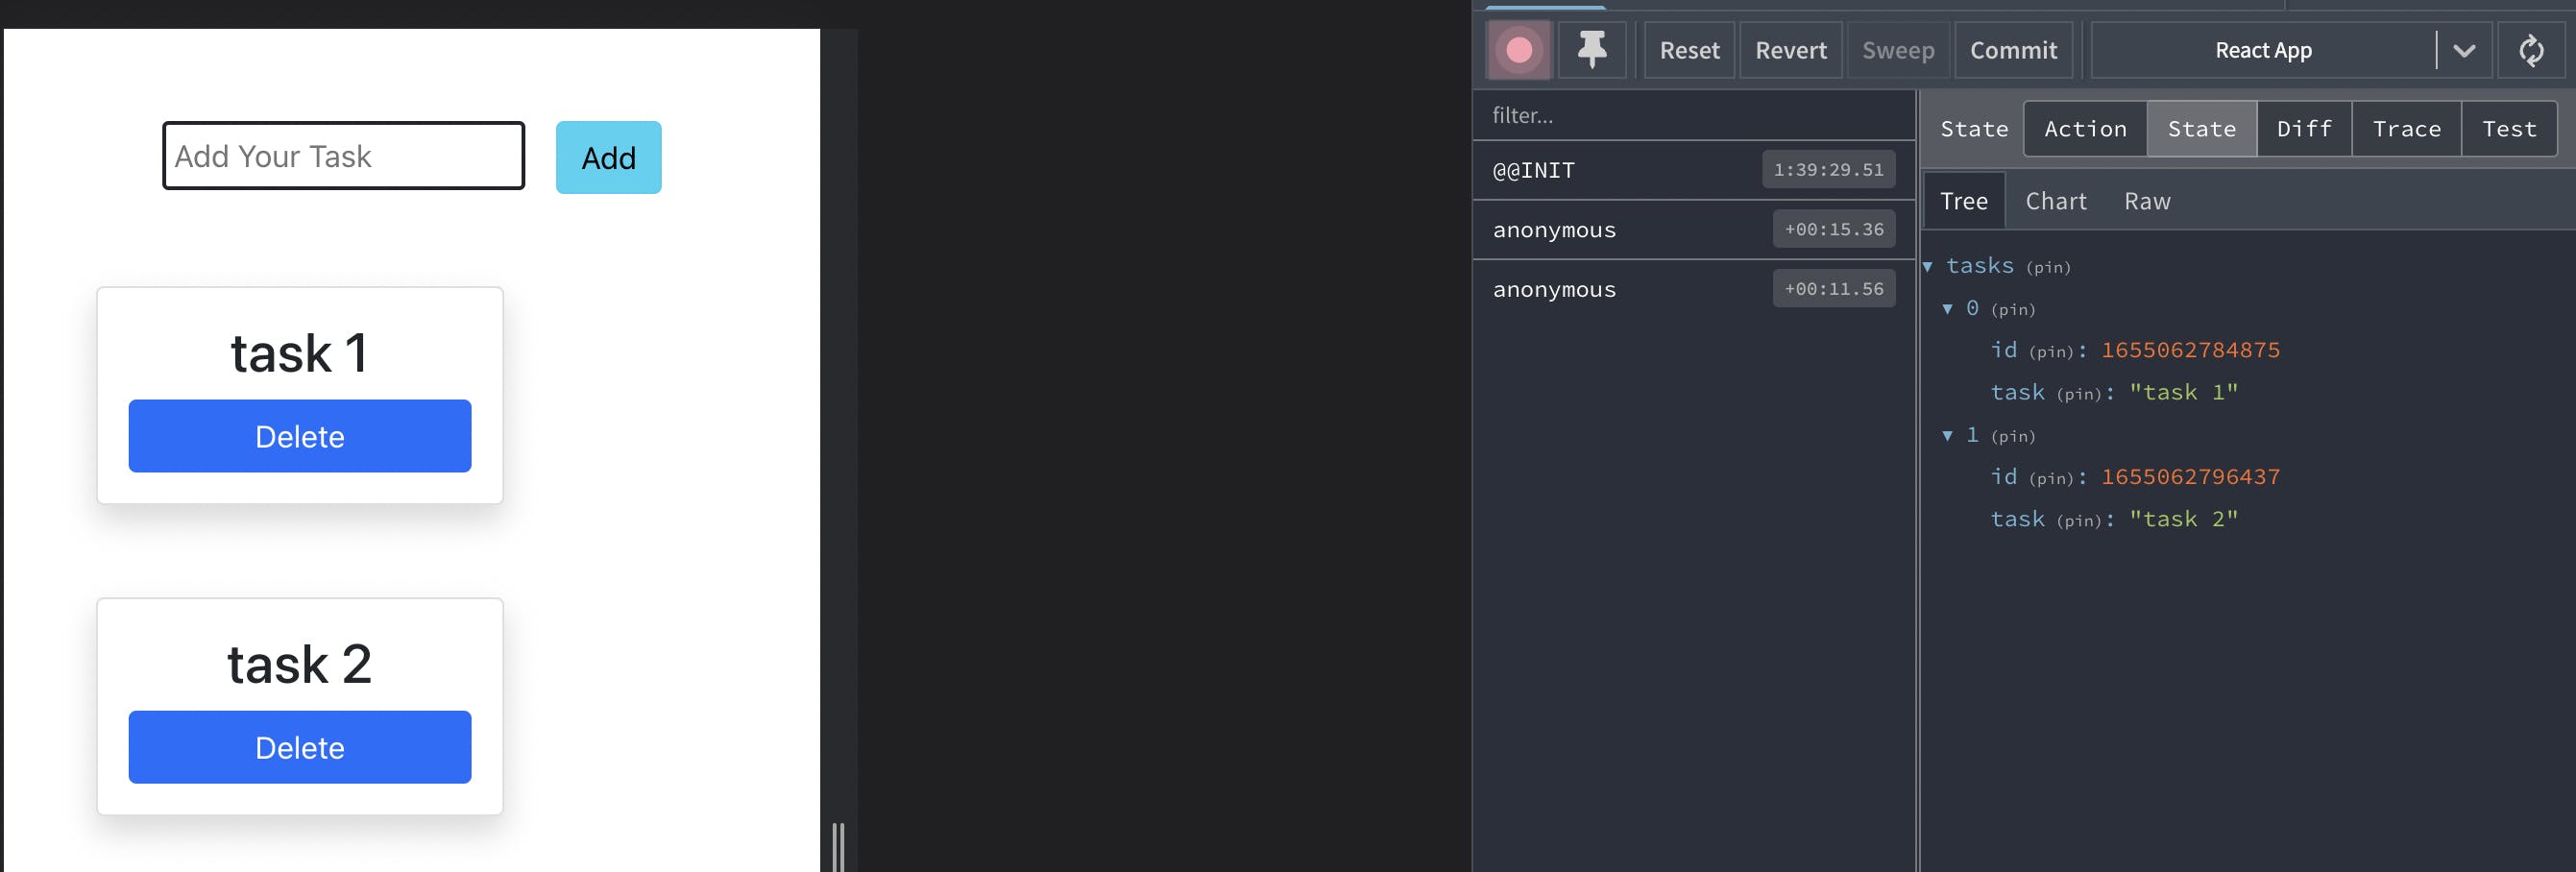
Map the tasks array and access the single value.
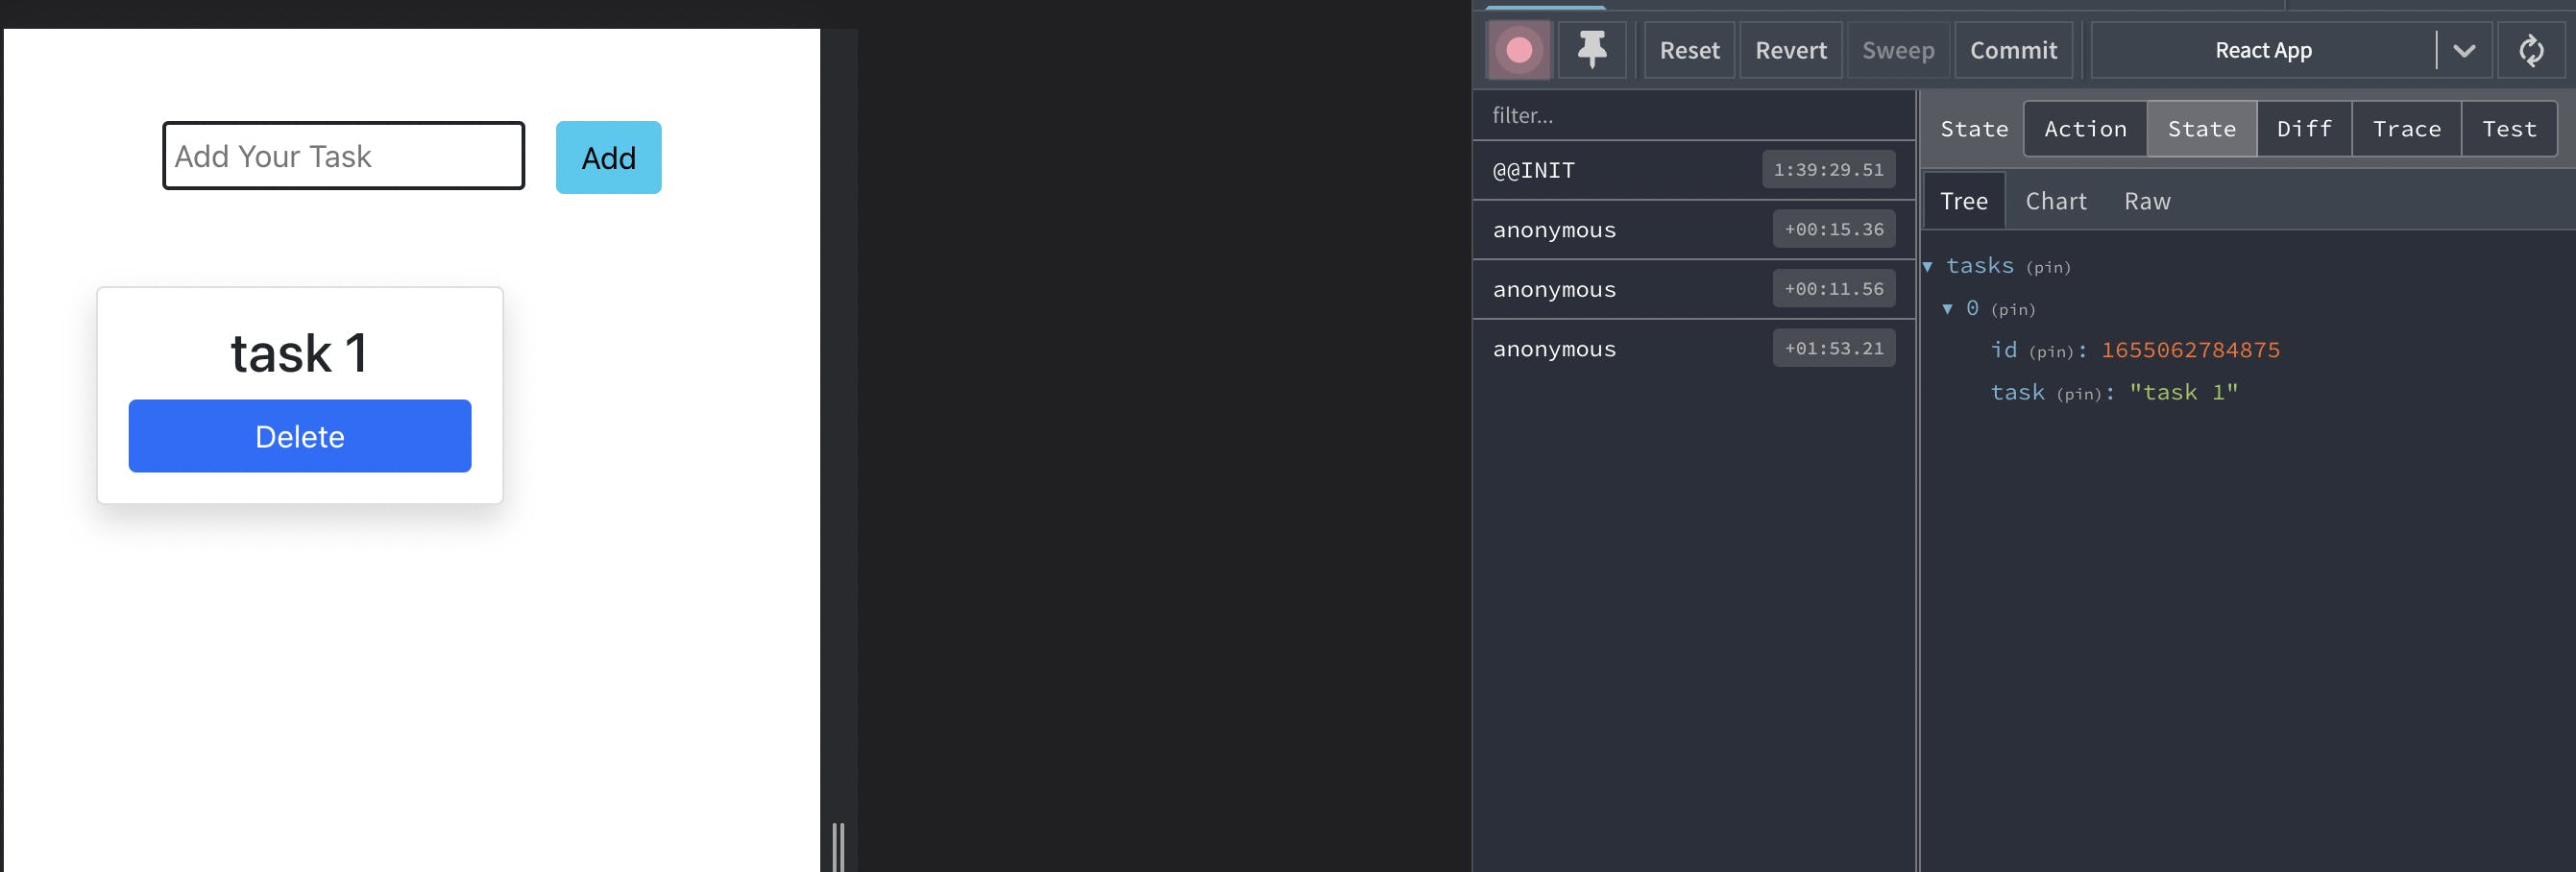
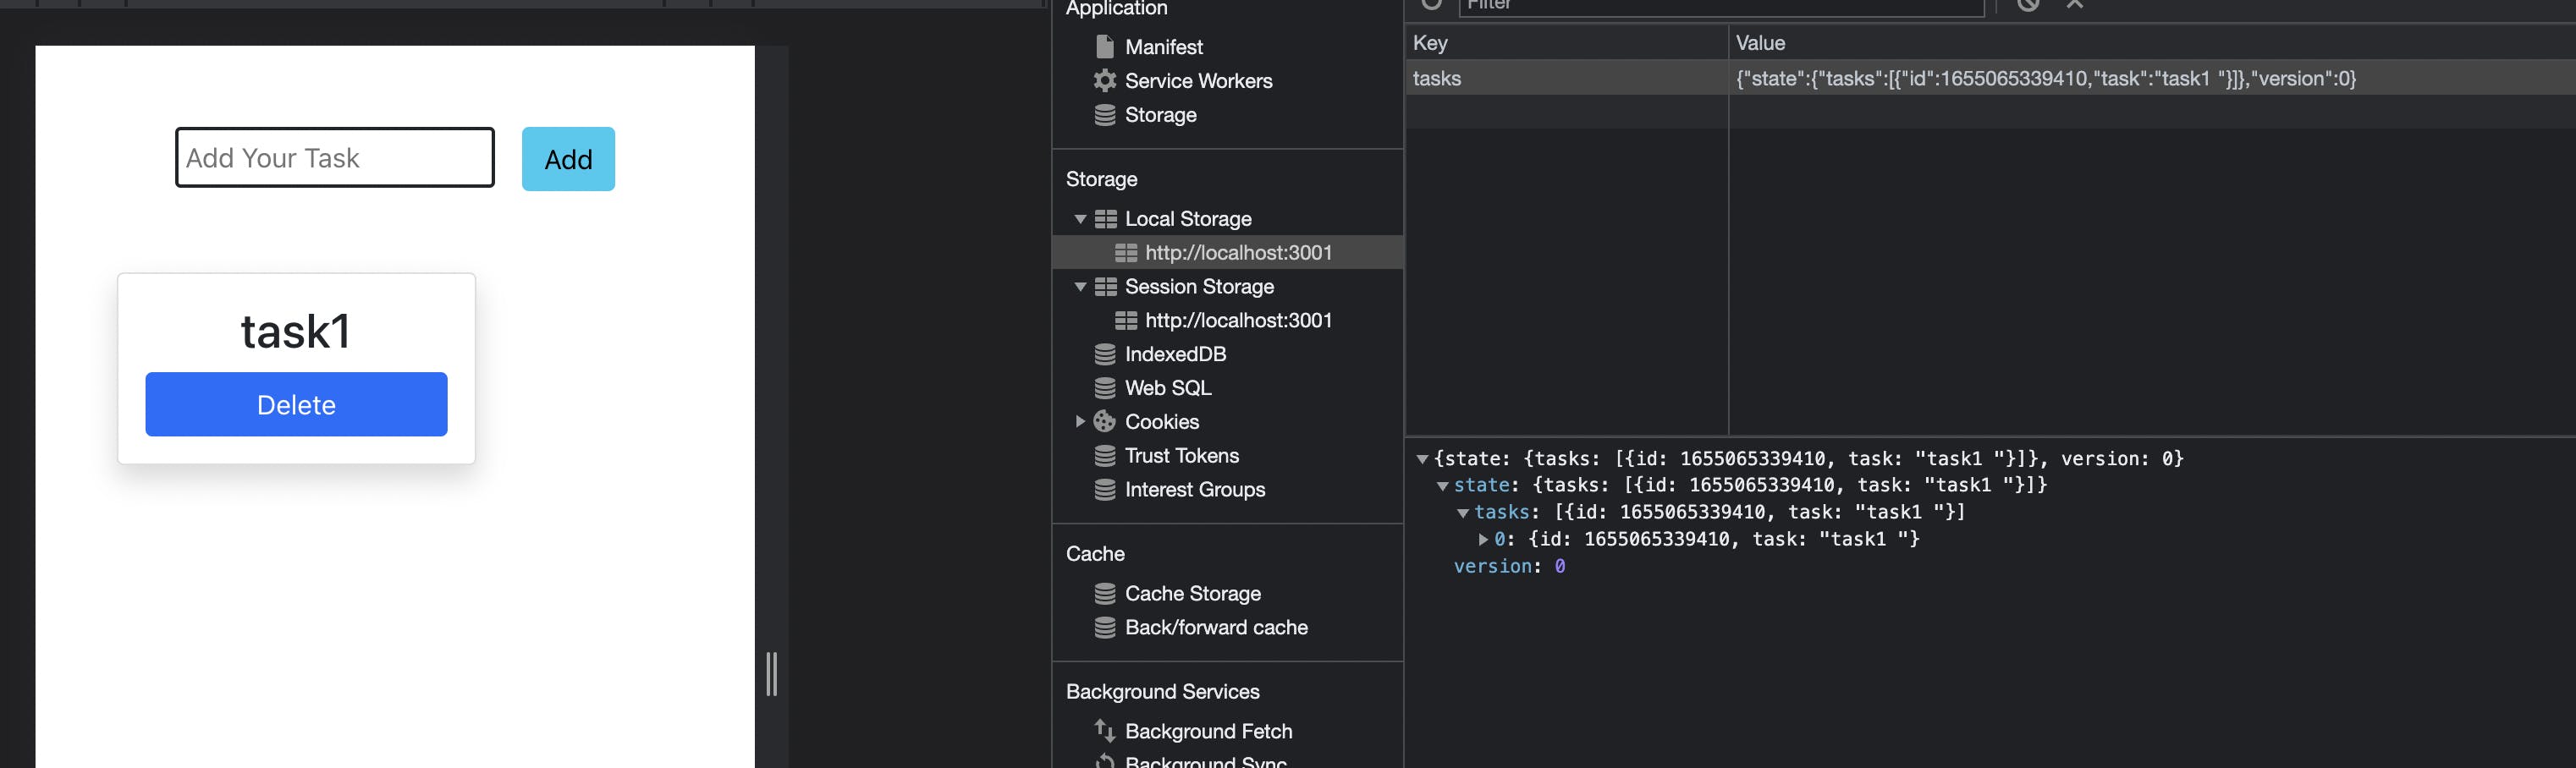
removeTask get the task id and send this to the removeTask action that is in the store file. Then, removeTask action filter the rest of the data and push it into the tasks array in the state.
Now, we can use many options with Zustand. Here we will show how to save state in local storage using Zustand.
We can achieve this goal using the persist middleware.
import create from 'zustand';
import { devtools, persist } from 'zustand/middleware'


const useStore = create(
    devtools(persist((set => ({
        tasks: [],
        addTask: (task) => set(state => ({ tasks: [...state.tasks, task] })),
        removeTask: (id) => set(state => ({ tasks: state.tasks.filter(task => task.id !== id) })),

    })), {
        name: 'tasks',
    }))
)

export default useStore;
Now, check the local storage.
Zustand is very easy to use. If you are more interested to know more features, you can explore the official document.